


With the recent updates to the MUTCD requiring monitoring and maintaining minimum retroreflectivity values for pavement markings, there is a renewed interest in retroreflectometers to help comply with the rule. Retroreflectometers are simple to use, but it does require some understanding to ensure that you are operating the equipment correctly and obtaining useful and relevant data.
What is a handheld retroreflectometer?

For pavement markings, the retroreflectometer is an instrument that mimics the driver geometry with a light source acting as the vehicle headlight and a detector photopically corrected to match how human eyes perceive light acting as the human eye. The international standard geometry of the instrument is the CEN 30 Meter Geometry, to which all required retroreflectivity values are referenced. The CEN 30 Meter Geometry uses what is called a “standard vehicle” with typical height for the headlights above the ground and typical height of the driver’s eyes above the ground with the driver looking 30 meters (~100 feet) in front of the vehicle.
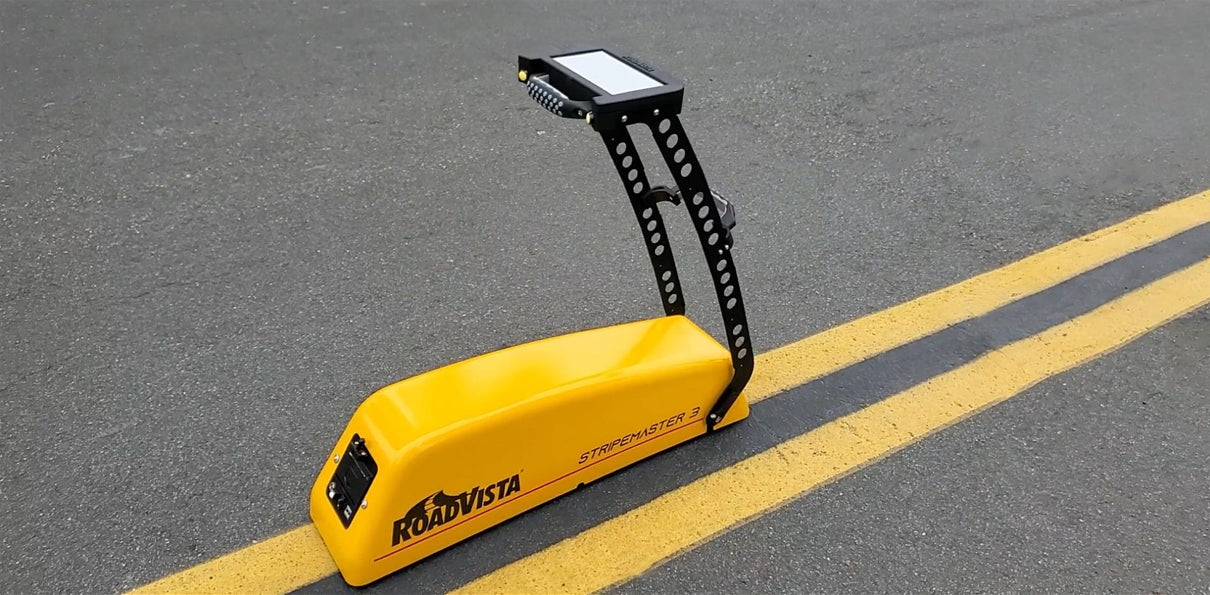
This retroreflectometer is placed on top of the pavement marking and a measurement is taken following the manufacturer’s instructions for instrument operation. The typical measurement area of a retroreflectometer is a rectangle approximately 2 to 2.5 inches wide and about 8 inches long.
Practical Use
As stated above, the retroreflectometer is taking a measurement of a very small area of the pavement marking. This single measurement may or may not be indicative of how the pavement marking is performing overall. Drivers are not looking at small 8 inch long sections of the pavement marking 30 meters in front of the vehicle. Drivers are looking at the line continuously and getting an overall view of how the pavement marking is performing. Pavement markings themselves inherently have a lot of variability, with 20% differences in retroreflectivity of flat markings being quite common just a few inches away from each other. This is before adding additional uncertainty of measurements being made in the field when roads are not flat and there can be rocks and other debris that can make positioning the retroreflectometer on the marking a bit more difficult. What’s important to remember is you want the retroreflectometer to feel solidly placed on the ground. You do not want the retroreflectometer to be level, you want it to be flat on the ground. Being flat on the ground will ensure the most accurately aligned position for the measurement.
Retroreflectometer Uncertainty and Reproducibility
ASTM has published Precision data for handheld pavement marking measurements in their standard document E1710 titled Standard Test Method for Measurement of Retroreflective Pavement Marking Materials with CEN-Prescribed Geometry Using a Portable Retroreflectometer (https://www.astm.org/e1710-18.html). The data is shown in Table 1 of the Standard. Reproducibility on a single measurement using a handheld retroreflectometer can vary between 11% and 28%. This means you can expect up to a 28% difference between measurements made two different retroreflectometers. If you limit your data collection to a single retroreflectometer, the Repeatability of a single measurement varies between 3% and 9%. That’s better, but it can still be improved upon. But how?
Handheld Retroreflectometer Data Collection Procedures
The way to improve the uncertainty of the measurements is to average together multiple measurements. Think of it this way: if you roll a pair of dice, on average, you will roll a 7. For any one given roll, you’ll get a number between 2 and 12. You could roll a 7, but you could also roll a 12 or roll a 2. That’s a big range of numbers. But the more you roll the dice, the closer and closer the average value will come to 7. So, if you want to ensure the average value of your rolls is 7, keep rolling. The same thing applies to pavement marking retroreflectivity measurements. The more measurements you take, the closer your average value will be to the performance value of the line. If you spread out your measurements over a distance, you also have the added benefit of seeing how well that line performs along its entire length.
But how do you know how many measurements you need to take? Luckily, the smart folks at ASTM have figured this out for you and published a procedure titled Standard Practice for Evaluating Retroreflective Pavement Markings Using Portable Hand-Operated Instruments. It is standard number D7585/D7585M. (https://www.astm.org/d7585_d7585m-10r22.html).
The Standard indicates that for sections of roads less than 2 miles long, a 400 foot section of roadway should be identified and it is recommended that 16 measurements be made over the 400 foot section and averaged together as a single value. For road sections from 2 miles to 10 miles long, at least three separate 400 foot sections should be measured, and for road sections longer than 10 miles, more than three separate 400 foot sections should be measured, as determined by the agency with jurisdiction. This works out to be 1 measurement every 20 feet on continuous lines. For skip lines, you want to measure each skip at 2 different locations over 20 skip lines.

If you are measuring structured or profile markings, you may need to average together multiple measurements at the same location, moving the instrument forward by a few inches, depending on the periodicity of the profile. That group of measurements would be considered a single measurement following the D7585/D7585M procedure.

At this point, you’re probably thinking you’re not excited about having to make so many handheld measurements. The good news is you don’t always have to. For example, let’s say you’re testing to make sure your retroreflectivity values are above 100 mcd/m²/lux. If your first 3 or 4 measurements are all in the 500-600 mcd/m²/lux range, then just stop right there. Your average value will have a higher uncertainty if it’s an average of only 3 or 4 measurements, but since they are all significantly higher than the minimum value, even with the higher uncertainty you can deem that section of road to be meeting the minimum requirements. But if your first few measures values are in the 100-150 mcd/m²/lux range, then you should perform all 16 measurements in that section.
In Summary
- Start with a high quality, well maintained, calibrated retroreflectometer.
- When performing a measurement, position your retroreflectometer so it is solidly placed on the pavement marking. Don’t use bubble levels or any other leveling tools. You want the instrument to be flat against the ground, not level with the center of the earth. Use tools that will ensure your instrument is flat against the ground.
- Do not rely on a single measurement to determine the performance of a pavement marking. Drivers are not looking at a small spot on the line, so you need to take a number of measurements down the length of the marking. Additionally, profiled markings may require multiple measurements in the same location to achieve a good result.Plan on doing 16 measurements over a 400 foot section of road for every 2 miles of roadway you need to measure. If your markings are in good shape and measuring well above the minimum required value, you can reduce the number of measurements you need to take based on the statistical analysis shown in ASTM D7585/D7585M.
Eric Nelson has 25 years experience in the industry as an optical physicist and director at RoadVista in San Diego, CA. He also is a member of the ASTM D04 Committee on Road and Paving Materials, E12 Committee on Color and Appearance, Sub-Committee D04.38 on Highway Traffic Control Materials, and Sub-Committee E12.10 on Retroreflection. E-mail: enelson@roadvista.com